

If you have a website or blog, you must have heard about Google Analytics. But, how do you set it up on your WordPress site? If you are new to this, it can seem a bit tricky. But don’t worry, we are here to help you!
This guide will show you how you can install Google Analytics on your WordPress site. You will also understand how helpful this tool is and how you can track your website’s performance with it. After reading this blog, you will be able to track your website data easily!
Want to stay ahead with AI-driven WordPress insights and stay updated with the latest trends? Subscribe for daily search insights at wpguidepro.com to improve your WordPress strategy!
Table of Contents
Why Is Google Analytics Important for Bloggers?
No matter what your blog is about, being knowledgeable about your audience helps. Tracking basic metrics with Google Analytics is effortless with:
Website Traffic: Measuring the volume and specific pages a user visits during a session.
Audience Demographics: Geographical tracking of visitors alongside age, gender, and other interests.
Traffic Sources: Determining whether traffic to your site is coming from social media, organic search, or referrals.
User Behavior: Duration of a visitor session, their journey and redirection in the website. *
With Analytics, the data harvested can assist in improving content delivery and overall site optimization.
Why WordPress Beginners Need Google Analytics
If you are new to WordPress, you should definitely check the statistics of your website to see how your blog is performing. Without Google Analytics, you have no way of knowing what people enjoy viewing on your site. Having Google Analytics installed from the start will make it easier for you to make upgrades to your website in the future.
How to Sign Up With Google Analytics
The first step to use Google Analytics is to create an account. See how to create one here:

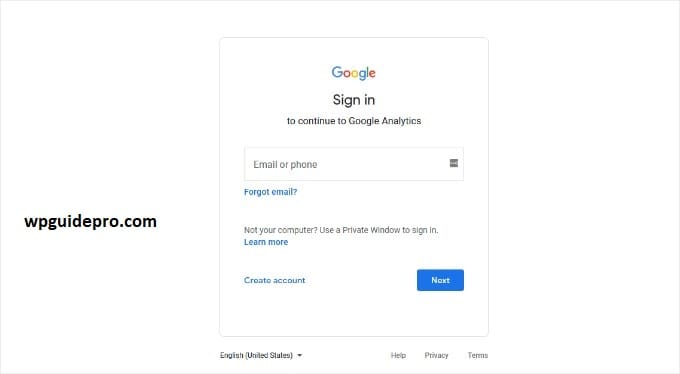
- Go to Google Analytics website: Open the Google Analytics website and login with your Google account. If you do not have a Google account, first create a new account.
- Set up a new property: Once you login, click on “Admin” in the dashboard. There you will find the option of “Create Property” under “Property Settings”, click on it.
- Enter website details: Now you will have to select your website name, URL, time zone and category. It is important to fill all these details correctly.
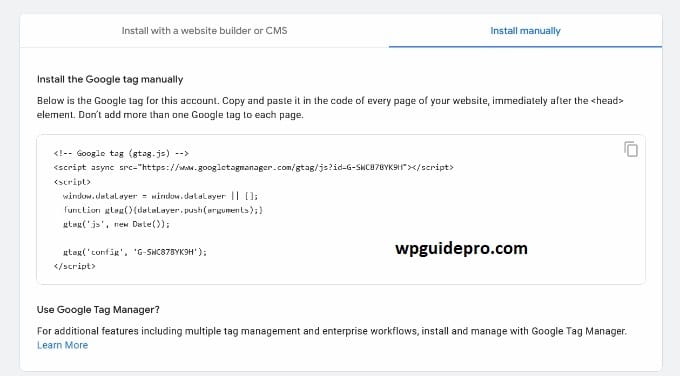
- Get Tracking ID: Now you will get a unique tracking ID or tracking code. Save it as it will be required when you connect Google Analytics to your WordPress site.
That’s it! Now you are ready to install Google Analytics on your WordPress site. Below, we will share some methods which you can install as per your comfort level.
How to Install Google Analytics in WordPress
Method 1: Install Analytics using MonsterInsights Plugin
MonsterInsights is a popular WordPress plugin that makes installing Google Analytics very easy. This is best for those who want an easy and simple way.

Step 1: Install and activate MonsterInsights:
- Go to your WordPress dashboard.
- Click on “Plugins > Add New“.
- Search for “MonsterInsights.“
- Install the free version and activate it.
Step 2: Connect to Analytics:
- Once the plugin is activated, the setup wizard will open.
- The wizard will guide you step by step.
- Login with your Google account, select the property you created, and connect to your site.
Step 3: Enable features:
- MonsterInsights also has extra features like page tracking and link tracking.
- Turn on the features you want.
Method 2: Install Google Analytics in WordPress With WPCode
If you know how to use a little code, using the WPCode plugin you can easily add your tracking ID to your WordPress site without touching the theme files.
Step 1: Install the WPCode Plugin:
- Go to the WordPress dashboard.
- Click on “Plugins > Add New”.
- Search for “WPCode” and install and activate the plugin.
Step 2: Create a New Code Snippet:
- Go to “Code Snippets > Add Snippet” in the dashboard.
- Create a new snippet there.
Step 3: Paste your Tracking Code:
- Select the “Custom Code” option.
- Paste your Analytics tracking code (which you got in the Google Analytics dashboard) here.
- Save the snippet and set it to run “Before Body Tag”.
Step 4: Publish the snippet:
- Save the snippet and activate it.
- Now your Analytics tracking has started, and your visitors’ data will be recorded.
Method 3: Install Google Analytics in WordPress Theme
If you are an advanced user, you can also manually add the Analytics code to your site’s theme files. But be careful, if you make a mistake, your site can get ruined.
Step 1: Copy your Tracking Code:
- Go to your Analytics dashboard.
- Copy the code snippet found there.
Step 2: Open Theme Editor:
- Go to WordPress Admin Dashboard.
- Click on “Appearance” > “Theme Editor”.
Step 3: Add Code:
- Find the “header.php” file there.
- Find the end of the tag in that file ().
- Paste your Google Analytics code right above it.
Step 4: Save:
- Click on the Save button and exit the editor.
- Now your site is connected to Google Analytics
Viewing Reports in Google Analytics
Once you install Analytics, you can now view the data of your blog.
To view the data of your website, you will have to login to the Google dashboard.
Here are some important parts (sections) that you should look at:
• Dashboard Overview:
Here you will know
- How many people visited your website (users)
- How many times they visited (sessions)
- How many people went back without clicking anything (bounce rate)
• Acquisition (traffic source): Here you can see where people came to your website from: –
- From Google search
- From direct link
- Or from social media (like Facebook, Instagram)
• Behavior:
- Here you can know:
- Which pages people look at the most
- How long people stay on each page yes
Bonus Tip: If you want to look deeper, you can create custom reports in which you get data according to your goal.
Making the Most Out Of Google Analytics
Once you have the basic setup done, here are some extra tips to help you get the most out of Analytics:
• Set Goals: You can track specific actions, like whether someone signs up for a newsletter or clicks on a link.
• Enable Enhanced E-commerce Tracking: If you run an online store, this feature will give you deeper data on customer behavior like which product people are looking at or which product has been added to the cart.
• Connect to Google Search Console: This will give you SEO-related data, such as which keywords your site is ranking for and which keywords people are clicking on.
• Study Behavior Flows: Here you can see how users move on your site – from which page they start and on which page they stop. This will let you know where people are going (bottlenecks).
Tip: Keep checking your data often. This will help you take better decisions and make your blog more successful.
Take Action Today With Google Analytics
Installing Google Analytics on your WordPress blog is a powerful first step to understanding and growing your online presence.
Whichever method you choose, this simple tool will give you data that will lead your blogging strategy to success.
Related Guides:
Matomo Analytics Setup: https://wpguidepro.com/matomo-analytics-wordpress-setup/
What’s New in WordPress 6.8: https://wpguidepro.com/whats-new-in-wordpress-6-8/
Not Secure Website: https://wpguidepro.com/not-secure-website-5-powerful-reasons-to-fix-it-now/
Google Lighthouse: https://wpguidepro.com/google-lighthouse-improves-your-website-ux-fast/
Add OAuth Login: https://wpguidepro.com/add-oauth-login-in-wordpress/
