

Being active on Schedule LinkedIn Posts every day and running a WordPress website at the same time can be very difficult at times. Creating content, responding to people’s messages and updating the website already takes time. On top of that, posting on LinkedIn manually becomes even more difficult.
I tried several methods. Finally, I found 2 very easy methods that let me pre-set posts on LinkedIn directly from WordPress. Both of these methods saved me a lot of time and posting became regular. People gave more likes and comments.
Whether you work alone, create content, or manage clients’ accounts. You will get more time with these tools. Now I will tell you both the methods in straight and simple steps which I use myself.
Want to stay ahead with AI-driven WordPress insights and stay updated with the latest trends? Subscribe for daily search insights at wpguidepro to improve your WordPress strategy!
Table of Contents
Why Schedule LinkedIn Posts in WordPress?
WordPress is the main hub for many businesses and creators where they manage their content. If you do LinkedIn posting directly from the WordPress dashboard, there’s no need to switch between different apps.
The biggest benefit is timing. Instead of logging into LinkedIn repeatedly every day, you can schedule and create posts all at once. Those posts will then be published at the time when your audience is active. This way you can keep your posting schedule regular despite being busy.
Another benefit is content repurposing. When the blog and LinkedIn content are in the same place, you can easily turn small parts of the blog into LinkedIn posts. You can share a behind-the-scenes look at your writing process or create a post series to drive traffic to your website.
Analytics also improve when WordPress and your LinkedIn strategy work together. WordPress analytics plugins show you which LinkedIn posts are driving the most visitors and conversions to your website.
Which Method Should You Choose?
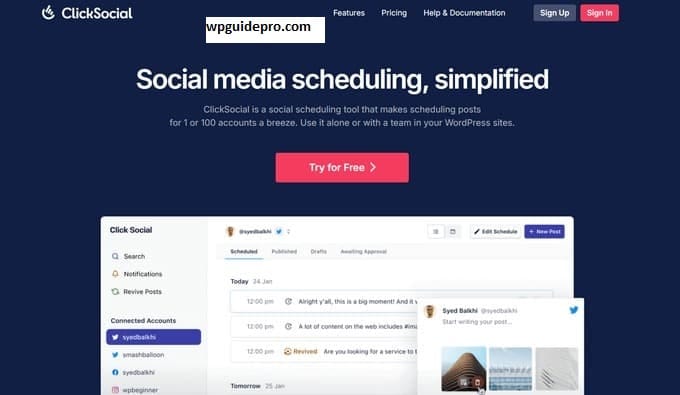
Both methods achieve the same goal, only the method is different. ClickSocial is a proper social media management tool with strong scheduling features and multi-platform support. It is best for people who manage multiple social accounts or want advanced scheduling.
Uncanny Automator is a bit different. It works on automation, meaning whenever you publish a new blog post on WordPress, it automatically shares it on LinkedIn. It is best for people who prefer a set-and-forget style and want to avoid manual scheduling.
If you need flexible scheduling, want to create LinkedIn-specific content, or want to manage the accounts of team members, choose ClickSocial. And if you mainly want to auto-share your WordPress content and like workflow automation, then Uncanny Automator is the best option.
Method 1: Schedule LinkedIn Posts Using ClickSocial
ClickSocial is a full social media management tool that connects easily with WordPress. This method gives you full control over your posting schedule and content formatting.
Step 1: Create ClickSocial Account and Get API Key
Go to the ClickSocial website and create an account with LinkedIn integration. Most plans offer a free trial so you can test it first.
After logging in, go to your account settings and open the API section. Generate your unique API key from there. You will need this key to connect WordPress and ClickSocial. Keep this key safe and do not share it with any unknown person.
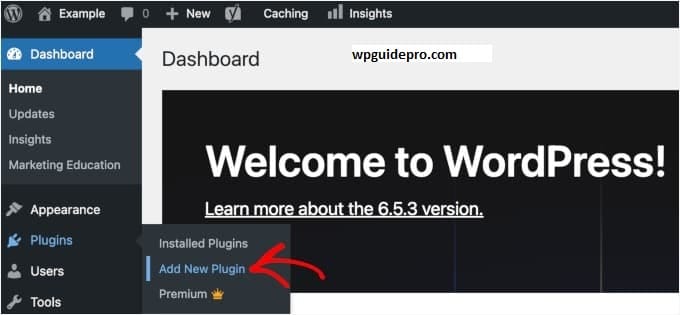
Step 2: Install ClickSocial Plugin on WordPress
Download the ClickSocial WordPress plugin and install it on your WordPress site and activate it.
Go to the plugin settings, paste your API key there and test the connection to confirm that WordPress and ClickSocial are properly connected.
Step 3: Connect LinkedIn Account
Select Add LinkedIn Account in the ClickSocial dashboard. This will take you to the LinkedIn authorization page where you can allow ClickSocial to post on your behalf.
You can connect your personal LinkedIn profile, company page or both depending on your posting strategy. It is also possible for agencies to connect multiple accounts.
Step 4: Create a LinkedIn Post Calendar
Set a posting schedule based on your audience’s active time. ClickSocial analytics shows you when your connections are most active.
If you post daily tips or weekly posts, you can create recurring slots to keep consistency and audience expectations consistent.
Step 5: Schedule LinkedIn Posts from WordPress
When you create or edit a new post in WordPress, the ClickSocial meta box will appear in the editor. There you write your LinkedIn post text, add hashtags and select a posting time.
Check the post formatting and link preview with the Preview option. ClickSocial automatically adds a link preview and featured image to the post that looks more attractive in the LinkedIn feed.
Step 6: Quick-Share Option
If you want to immediately share your WordPress content on LinkedIn, you can use the Quick-Share feature. This option is perfect for trending topics or urgent posts. Quick-Share maintains the formatting of the post and adds the WordPress featured image + meta description in the LinkedIn preview.
Method 2: Publish LinkedIn Posts Using Uncanny Automator
Uncanny Automator creates rules inside WordPress that automatically share your content on LinkedIn. Once set up, there is no need to do much work.
Step 1: Install and turn on Uncanny Automator
Download Uncanny Automator from the WordPress plugin store and install it on your site. The free version offers simple LinkedIn sharing, and the Pro version has extra features.
After activating, a setup wizard opens that guides you step by step.
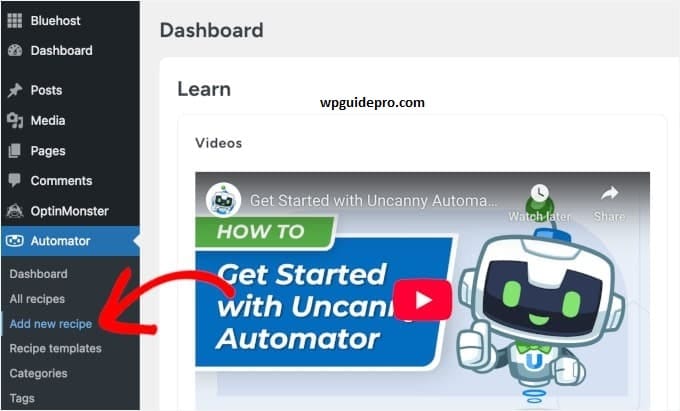
Step 2: Create a New Recipe for LinkedIn
Open the Automator section in the WordPress dashboard and click on Add New Recipe.
There are 2 options:
- Logged-in user
- Anonymous
For LinkedIn auto-sharing, choose Anonymous so that every post is automatically shared on LinkedIn.
Step 3: Set the Trigger
Select WordPress in the Trigger source. Then choose:
- A post is published
- A post is published with specific category/tag
This will let you decide which posts to share on LinkedIn. Example: sharing only blog posts, not pages.
Step 4: Set LinkedIn Action
Select LinkedIn in Action and choose an option:
- Create a post
- Share an article
- Sharing an article is even better because it also includes a WordPress preview.
Create your LinkedIn post using template tokens these auto-fill the title, excerpt, image, and hashtags.
Step 5: Turn on the recipe
Check that everything is set correctly. Test with a draft post.
Then activate the recipe. Now whenever you publish a post on WordPress, it will automatically be shared on LinkedIn. You can check in the automation logs whether the share was successful or not.
Bonus Tip: Grow LinkedIn Followers and Engagement with Giveaways
Sometimes it’s a great idea to do a giveaway on LinkedIn. This way you get more likes, comments and new followers come to see your WordPress content.
Create a giveaway in which people visit your website, join the newsletter or download a free gift.
Create a giveaway page on your WordPress site with a simple entry form, written rules and the name of the winner announced. This way you can bring people from LinkedIn to your website and also grow your email list and followers
FAQs About How to Schedule LinkedIn Posts in WordPress
Q: Can I schedule posts on more than one LinkedIn account from WordPress?
Yes, you can connect more than one LinkedIn account in both ClickSocial and Uncanny Automator. This is helpful for people who manage both their personal profile and company page.
Q: Does this work on LinkedIn company pages as well?
Yes, both tools work for both company pages and personal profiles. You just need to be the admin of the company page.
Q: Will there be a difference between automated posts and manually created posts?
No, both look the same. Automated posts also have the same link, image and format as manually created posts.
Q: Can I edit a scheduled post before it is published?
Yes, you can edit your scheduled post in ClickSocial. But in Uncanny Automator you will have to edit the WordPress post before automation.
Q: What will happen if my LinkedIn connection gets disconnected?
The plugin will notify you. Then you will have to go to settings and reconnect your LinkedIn account.
