
")
Product bundles isn’t a fad or a catch all idea it’s a great way to increase sales, spend more, and provide value to your customers.
If you’re running a Woo Commerce store, creating product bundles is a great idea. This helps people buy more at once, and you can show them which products they use together.
In this guide, we’ll explain step by step how you can create product bundles in your store using the Woo Commerce Product Bundles Plugin.
After reading this article you will learn how to make such bundles that increase sales and also increase the shopping fun of your customers.
Want to stay ahead with AI-driven change footer in WordPress insights and stay updated with the latest trends? Subscribe for daily search insights at wpguidepro.com to improve your WordPress strategy
Table of Contents
Do Product Bundles Increase Sales?
Yes, product bundles increase sales in e-commerce stores. How? By grouping related products together you:
Increase average order value when you tempt customers to buy more products at once.
Encourage upselling and cross-selling, so you can show things that complete each other.
Improve shopping convenience when you offer solutions in one click (such as a bundle of case and headphones with a laptop).
Offer discounts and increase revenue, because customers prefer to buy in bundles, seeing more benefits.
Data also supports this. According to a study by Forrester Research, cross-sell and upsell promotions account for more than 30% of e-commerce revenues for retailers that use these techniques effectively.
Now that you’ve realized the benefits, here are five easy steps to create product bundles and sell in WooCommerce
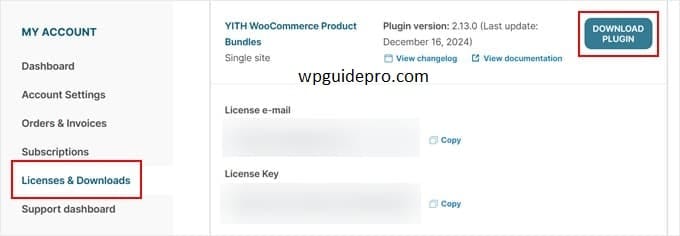
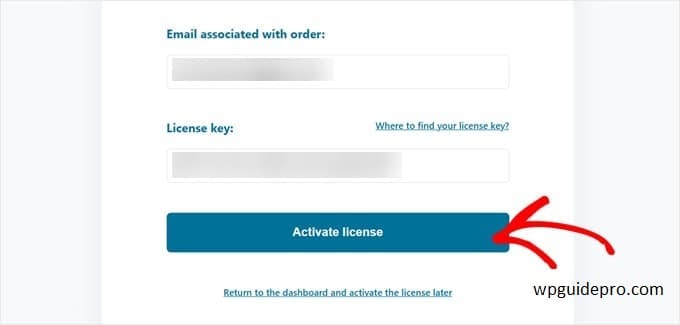
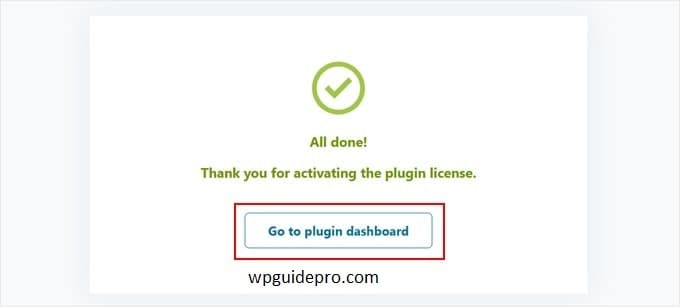
Step 1: Install YITH WooCommerce Product Bundles Plugin
If you want to create product bundles in your WooCommerce store, then you will need a plugin. This WooCommerce Product Bundles is a famous and simple plugin with which you can easily create bundles
The simple way to install the plugin is:
- Login to your WordPress site dashboard.
- Click on Plugins > Add New on the left side.
- Write in the search box: YITH WooCommerce Product Bundles
- When this plugin appears in the list, click on Install Now.
- When installed, click on Activate.
If you want more features (like auto-set prices or separate bundles for each customer), you can also avail the paid version.
Step 2: Create a Woo Commerce Product Bundle
Now that the plugin is installed, let’s create our first product bundle.
Go to your Woo Commerce dashboard and click on Products > Add New.
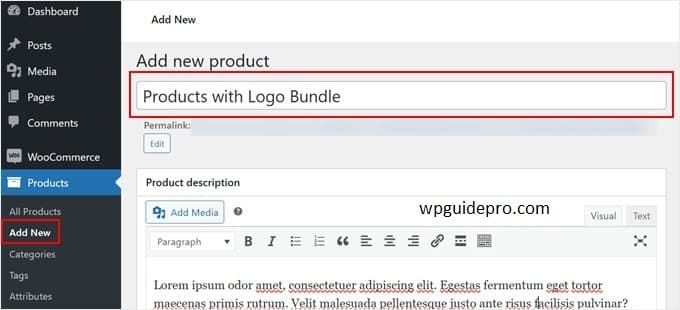
Create a new product and write its name, like Travel Bundle or Office Starter Kit.
Write below what all things are in this bundle and how this bundle is beneficial for people.
💡 Pro Tip: Write such simple and good words in the description that people will find it easy and beneficial to buy the bundle like save money or get everything in one click
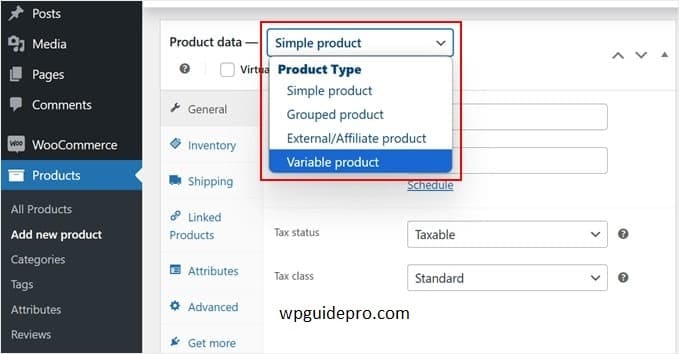
Step 3: Configure Product Bundle Settings
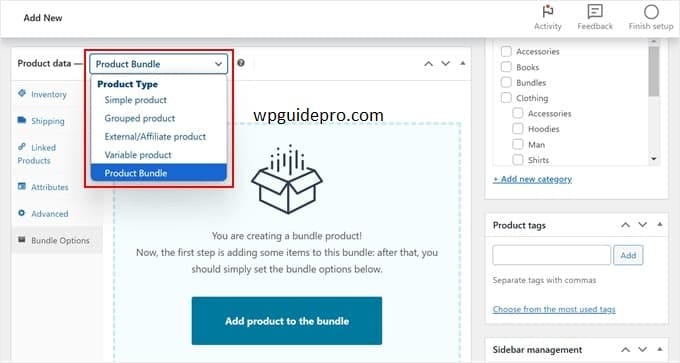
When your product is ready, scroll down a little. There you will find the Product Data section. There will be a new tab called Product Bundles.
From here you can set up your bundle:
Add products to the bundle:
- Click on Add Product.
- Search and select the products you want in the bundle.
- Set the quantity of each product (how many items you want).
Set the price:
- You can decide whether the price of the bundle is fixed (e.g. $50 for the whole bundle),
- Automatic/dynamic (all the items in the bundle add up to form the final price).
- If you want, you can also give a discount on the bundle, so that people take interest in buying it.
Decide the Bundle type:
You can give the customers a choice so that they can select some items within the bundle as per their wish.
Or you can fix the entire bundle, in which all the items are already set ready to buy!
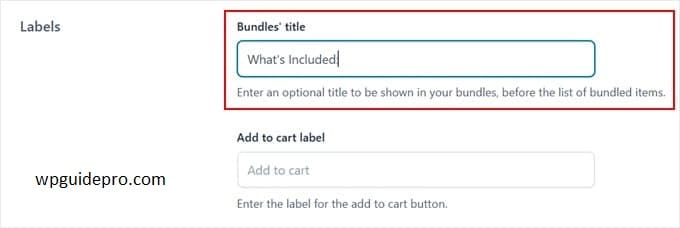
Step 4: Customize the Bundled Product’s Style and Labels
Presentation matters. If your bundle has a good design and clear labels, people like it more.
You can customize some things in this WooCommerce Product Bundles plugin:

Product Layout: You can decide how to display products on the bundle page – in grid style or list style.
(so that people can see them easily)
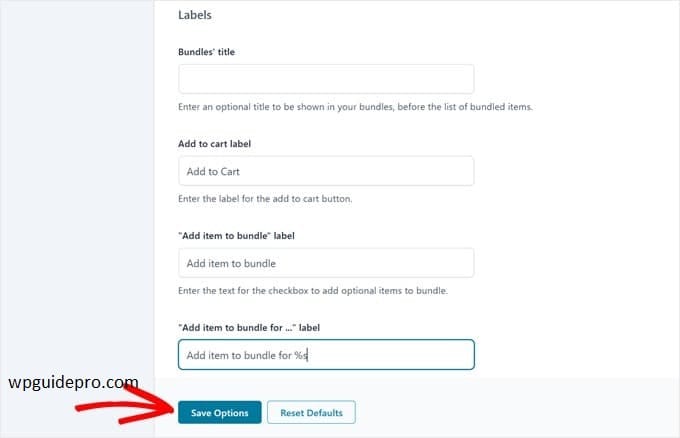
Labels and Descriptions: You can also change buttons, product info and “Add to Cart” text according to your store’s style.
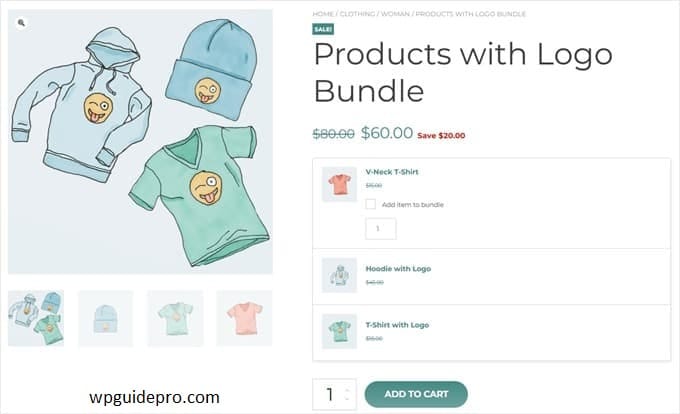
Images: Upload such an image in which all the products of the bundle are visible together. (Images help in getting people’s attention)
If your bundle looks good, people will be more interested in buying it
Step 5: Publish Your Product Bundle
When you have set all the settings and the bundle is ready, it’s time to publish it.
Follow these last steps:
- Recheck your product name, bundle items, and price check if there is any mistake or problem.
- When everything is fine, click on the Publish button.
- Now your bundle will be visible on your website and people can buy it.

💡 Tip: To promote your bundle, display it on the homepage or share it in an offer/post so that more people can see it
Recommended Guide:
Stripe tax collection : https://wpguidepro.com/collect-stripe-taxes-easily-in-wordpress/
Accept iDEAL payments : https://wpguidepro.com/how-to-accept-ideal-payments-in-wordpress/
Matomo Analytics setup : https://wpguidepro.com/matomo-analytics-wordpress-setup/
Boost traffic using post analytics : https://wpguidepro.com/boost-traffic-with-wordpress-post-analytics/
Fix menu overlap issue : https://wpguidepro.com/fix-wordpress-menu-overlap-fast/
