When you are updating, shifting or fixing your WordPress site, it is important to protect the site from wrong changes.
At this time you can use read-only mode.
Read-only mode means that people can only view your site.
They cannot add any new post, fill any form, or make any changes.
The advantage of this is that while you are working, no user can spoil the site by mistake.
You can work comfortably without worrying.
In this guide we will show you a simple way to put your WordPress site in read-only mode.
We will also cover a simple way to use plugins and some advanced coding tips.
You will also learn how to improve visitor experience while your site is under maintenance and how to avoid issues that could damage your site.
Want to stay ahead with AI-driven WordPress insights and stay updated with the latest trends? Subscribe for daily search insights at wpguidepro to improve your WordPress strategy!

Table of Contents
Why Use Read-Only Mode During WordPress Maintenance?
Read-only mode is a way of safety when you are doing important work on the site. When you are shifting the database, updating plugins or maintaining the server, if the logs keep using the site then some problems can occur which can spoil your work.

Protects the database from conflicts
If a user submits data, when you are shifting the data, then that data will not be visible in the new system or the data can be corrupted.
User experience also remains intact
In maintenance mode, logs only see a simple message or a blank page.
Read-only mode
People can see your old posts and pages, this prevents people from leaving the site and their experience remains good.
Prevents data loss
If someone fills a form or comments while your site is running fine, then that data can be lost. Read-only mode stops all these things or puts them in queue for later.
Reduces server load
When users cannot write anything, then the work on the server is reduced. This completes your maintenance work quickly and smoothly.
Putting Your WordPress Site in Read-Only Mode
Method 1: Using WP Read-Only Plugin
This is the easiest way to enable read-only mode using a simple plugin.
Installing the Plugin
Go to the admin dashboard of your WordPress site. Then click on Plugins > Add New. Write “WP Read-Only” in the search bar and click on the Install Now button on the plugin that appears.
Turning on Read-Only Mode
Once the plugin is installed, go to Settings > Reading. There you will find a new option for “Read-Only Mode”. Tick the checkbox so that the feature is enabled.
Adjusting Settings
Decide to whom the read-only mode will apply. Often you exclude administrators, but restrict editors, authors and subscribers.
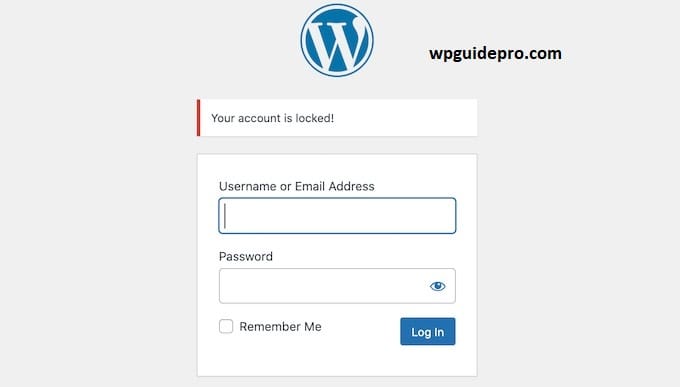
Check everything is working fine Log out of your admin account and test for example, try submitting a comment or contact form. If nothing is submitting, it means read-only mode is working fine.
Method 2: Make the database read-only
This method is for those people who know how to use hosting and database a little. In this, you set the database of the WordPress site to be only visible which is called read-only mode. This method is more secure.
Access the database
Go to your hosting panel. From there, open your MySQL database using phpMyAdmin, command line or any other database tool.
Create a read-only user
Create a new user who can only view cannot change anything.
Use this command:
CREATE USER 'readonly_user'@'localhost' IDENTIFIED BY 'secure_password';
GRANT SELECT ON your_database.* TO 'readonly_user'@'localhost';
In place of ‘your_database’ write the name of your database
In place of ‘secure_password’ write a strong password
Make changes in wp-config.php file The wp-config.php file is located in the root folder of WordPress.
Open this file and update this line:
define('DB_USER', 'readonly_user');Now your site will be connected to the database only through a read-only user — who is only allowed to view it.
Handle Write Errors
If a user fills out a form or leaves a comment, an error may occur at that time. You can set a custom error message or use a plugin so that the site does not crash and users understand that temporary maintenance is going on.
Method 3: Code Method (Read-Only Mode using functions.php)
If you have a little idea of coding and you don’t want to use a plugin, then you can enable read-only mode by putting this code in the functions.php file of your WordPress theme.
Add Read-Only Function Open the functions.php file in your theme folder.
Paste the below code in it:
function enable_read_only_mode() {
    if (!current_user_can('administrator')) {
        remove_action('init', 'wp_loaded');
        add_action('init', 'block_write_operations');
    }
}
add_action('init', 'enable_read_only_mode');
This code checks that if the user is not an admin, then he cannot make any change on the site.
Stopping Write Work (Form, Comment, Data Save etc.)
Now add one more function which stops the things that save data:
function block_write_operations() {
    $_POST = array();
    $_REQUEST = array();
}
This code deletes every user’s form or comment data, i.e. nothing can be submitted.
Showing a message to users If you want, you can show a simple message so that people understand that the site is under maintenance:
function show_read_only_notice() {
    if (!current_user_can('administrator')) {
        echo '<div class="notice notice-warning"><p>Site is working.</p></div>';
    }
}
add_action('admin_notices', 'show_read_only_notice');
This message will be displayed only in the admin area. If you want to inform frontend also then you can put this message in footer or header also.
Bonus Step: How to Temporarily Disable Comments and Form Entries
When the site is in read-only mode, there are a few things you should disable that can confuse people:
Disable comments
- Go into WordPress admin and open Settings > Discussion.
- Turn off the option “Allow people to submit comments on new posts”.
- Use bulk edit to disable comments on old posts.
- Hide contact forms
If you are using Contact Form 7 or Gravity Forms, then temporarily remove the form’s shortcode.
Place a simple message in its place like:
“The site is currently under maintenance. The form will be available later.”
Stop User Registration
Go to the Admin panel and open Settings > General. From there, turn off (uncheck) the option “Anyone can register”, so that people cannot create new accounts during maintenance.
Stop Custom Forms from being submitted
If you use your own forms, then add a little JavaScript to them so that the form does not get submitted. And show a message to people: “Form submission is stopped for now the site is under maintenance.”
FAQs: How to Put Your WordPress Site in Read-Only Mode
For how long should you keep the Read-Only mode?
This depends on the work you are doing. If there are only small updates, then 15-30 minutes are enough. But if you are doing a full site migration, then it can take several hours. Always tell the users how long the site will be under maintenance.
Does Read-Only Mode affect SEO?
If you are using read-only mode for a short time and are not blocking search engines, then it does not have much impact on SEO. But if you keep your site on read-only for a long time,
that too when there is a lot of traffic, it can have a little effect.
Can I access the admin panel in read-only mode?
This depends on which method you are using. If you are using a plugin, the admin will still have access. But if you are using database-level read-only, you may have to use a different admin login.
What happens to people who fill out forms in read-only mode?
Normally the forms are not submitted or are ignored. So it is important that you send a message to the users in advance
that the form is temporarily not available, and for urgent contact mention another method.
How to check if Read-Only Mode is working properly?
Log out from Admin and try as a normal user:
- Submit a comment
- Fill and send a contact form
- Try to create a new account
If this is not working, or some message is showing,
it means that Read-Only Mode is working properly.


